Apache2 と Tomcat6 の連携設定済み

1. PostgresSQLのインストール
インストール
$ sudo apt-get install postgresql
$ sudo apt-get install postgresql-contrib-8.4 pgadmin3
ユーザーpostgresのパスワードを設定する
$ sudo passwd postgres
PostgreSQLが利用するportを開放する
$ sudo ufw allow 5432
PostgreSQLでのユーザーの認証方式を設定する
$ sudo cp /etc/postgresql/8.4/main/pg_hba.conf /etc/postgresql/8.4/main/pg_hba.conf.backup
$ sudo nano /etc/postgresql/8.4/main/pg_hba.conf
以下を
local all postgres ident
以下のように
local all postgres,aipo_postgres ident
変更したら再起動する
$ sudo /etc/init.d/postgresql restart
2. Aipo5のダウンロードと配置
ダウンロード
グループウェア「アイポ」
http://www.aipo.com/
解凍
$ tar xvf aipo5120ja_linux.tar.gz
$ cd aipo5120ja_linux
ツールを配置
$ sudo cp aipo/src/postgresql-8.1-407.jdbc3.jar /usr/share/tomcat6/lib/
$ sudo cp aipo/src/tools.jar /usr/share/tomcat6/lib/
aipo本体を Tomcatに追加
$ sudo cp -R aipo/src/webapps/aipo /var/lib/tomcat6/webapps/
$ sudo cp -rf aipo/src/initdata/psml /var/lib/tomcat6/webapps/aipo/WEB-INF
$ sudo cp -rf aipo/src/initdata/files /var/lib/tomcat6/webapps/aipo/WEB-INF
$ sudo cp -rf aipo/src/initdata/mail /var/lib/tomcat6/webapps/aipo/WEB-INF
設定ファイル書き換え
$ sudo nano /var/lib/tomcat6/webapps/aipo/WEB-INF/conf/AipoResources.properties
以下の部分を
aipo.webappserver.port=8080
以下のように変更する
aipo.webappserver.port=80
postgresqlのポート−番号を変更する場合
//$ sudo nano /var/lib/tomcat6/webapps/aipo/WEB-INF/conf/postgres/Org001DomainNode.driver.xml
//localhost:5432を変更する
postgresqlで使用するユーザー名を変更する場合
//$ sudo nano /var/lib/tomcat6/webapps/aipo/WEB-INF/conf/postgres/Org001DomainNode.driver.xml
//userName="aipo_postgres"を変更する
postgresqlで使用するユーザーパスを変更する場合
//$ sudo nano /var/lib/tomcat6/webapps/aipo/WEB-INF/conf/postgres/Org001DomainNode.driver.xml
//password="aipo"を変更する
3. Aipo5のデータベース初期化とデータ登録
ユーザーのパスワードを指定
$ sudo -u postgres createuser aipo_postgres
$ sudo -u postgres psql template1
template1=# alter user aipo_postgres with password 'aipo';
(パスワードはaipoにした)
template1=# alter user postgres with password 'postgres_db_pass';
(パスワードはpostgres_db_passにした)
template1=# \q
現在、作成済みデーターベースを確認
$ sudo -u aipo_postgres psql -l
データーベース作成
$ sudo -u postgres createdb org001 --owner=aipo_postgres
データーベース初期化
$ sudo -u postgres psql -d org001 -p 5432 -f aipo/src/initdata/sql/org001.sql
サンプルデータ挿入
$ sudo -u postgres psql -d org001 -p 5432 -f aipo/src/initdata/sql/sample.sql
port番号挿入
$ sudo -u postgres psql -d org001 -p 5432 -c "UPDATE EIP_M_COMPANY SET PORT_INTERNAL=80"
ユーザー無制限
$ sudo -u postgres psql -d org001 -p 5432 -c "UPDATE AIPO_LICENSE SET LIMIT_USERS=0"
4. Tomcat6の設定変更
$ sudo nano /etc/apache2/conf.d/tomcat以下追記
<Location /aipo/>
ProxyPass ajp://localhost:8009/aipo/
Order allow,deny
Allow from All
</Location>
aipo関連ファイルの所有権を全て tomcat6 に変更
sudo chown -R tomcat6:tomcat6 /var/lib/tomcat6/webapps/aipo
サービス、再起動
$ sudo service tomcat6 restart
$ sudo service apache2 restart
アクセスしてみる
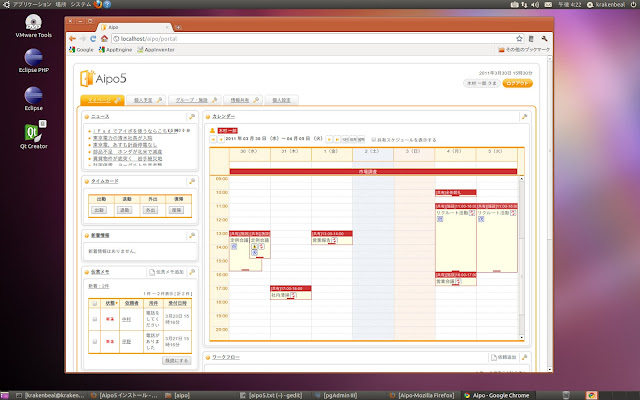
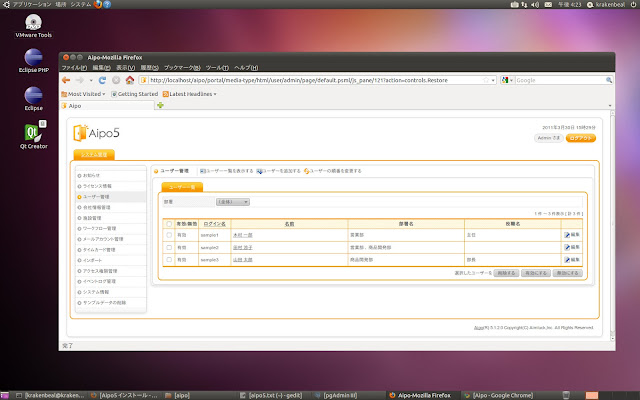
http://localhost/aipo/portal/
http://localhost/aipo/portal/
ユーザー一覧から選択するチェックを外す
ユーザー名 : admin
パスワード : admin

参考
Debian lennyに Aipoを入れる - Walbrix Blog
http://walbrix.net/blog/2010/05/debian-lenny-aipo.html
0 コメント:
コメントを投稿